Preservation Self-Assessment Program
Getting Started
Want to jump right in? Use this guide.
If you find that you need more comprehensive support, visit our user manual.
Here are the basic steps to get you going:
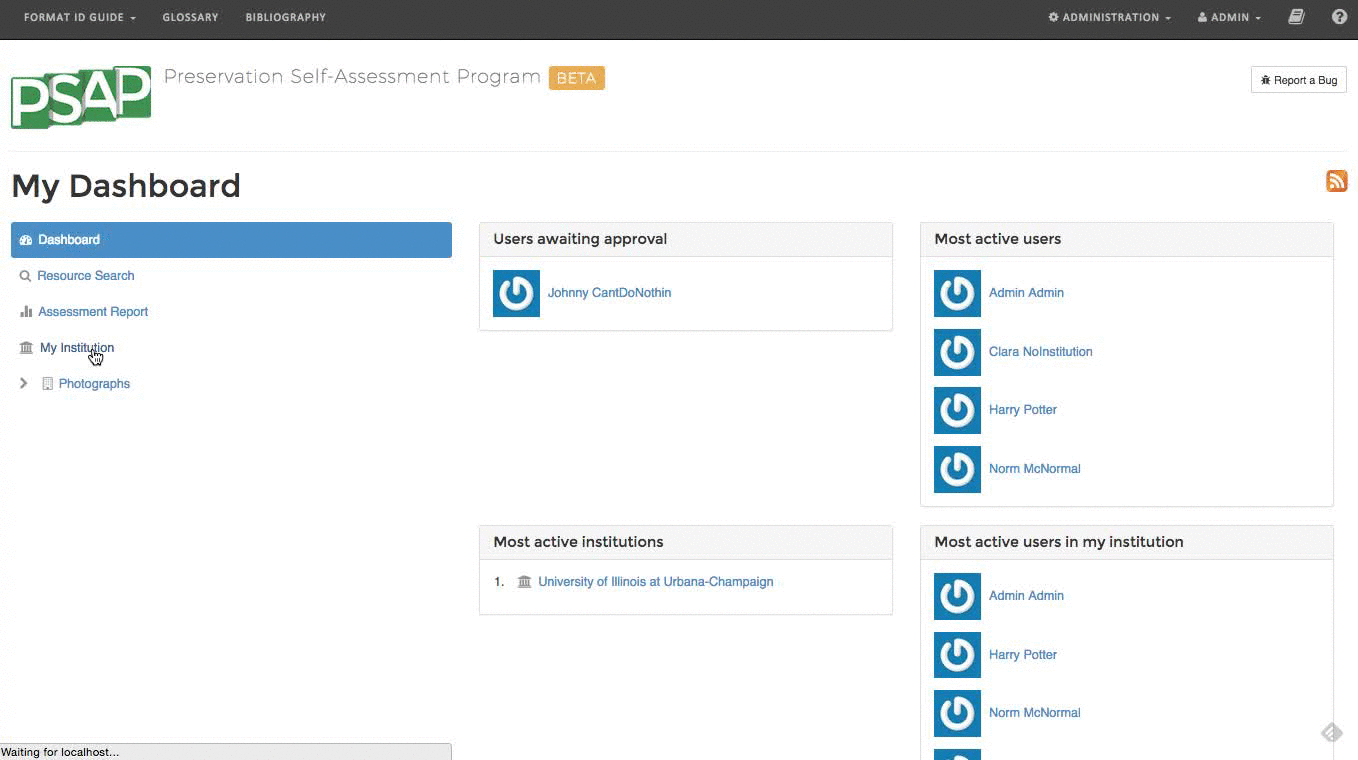
1. Assess your institution
- Begin at the Dashboard
- Select your institution
- Select Assess Institution
- Complete the form
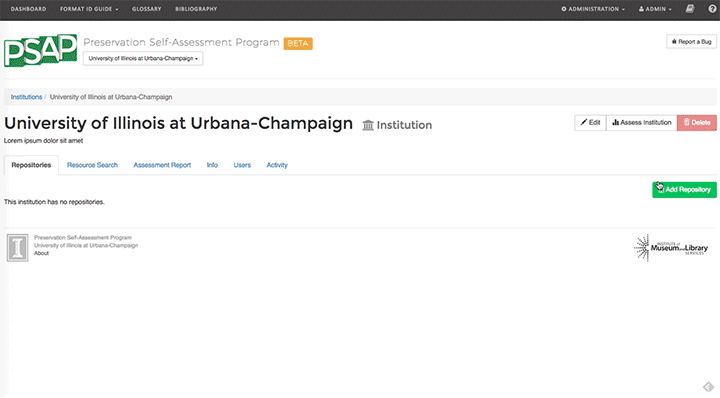
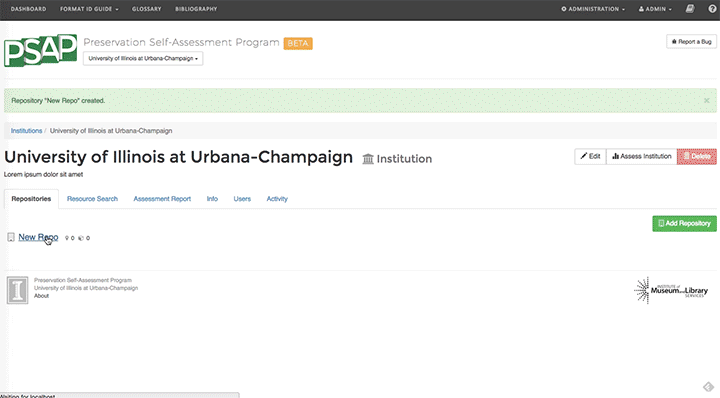
2. Create a new repository
- Select Add Repository.
- Give your repository a name.
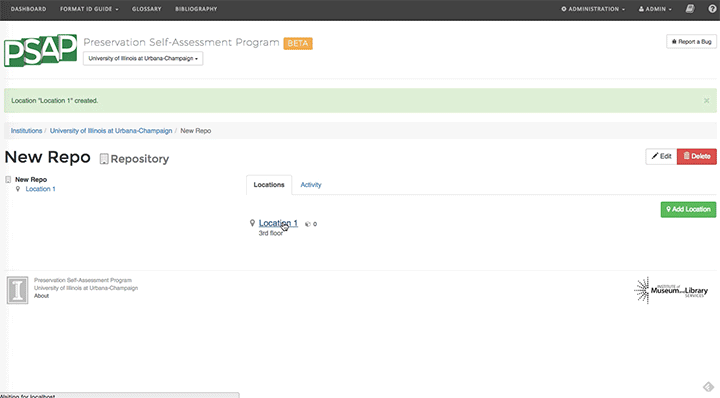
3. Add a location to your repository
- Select your repository.
- Select Add Location.
- Give your location a name.
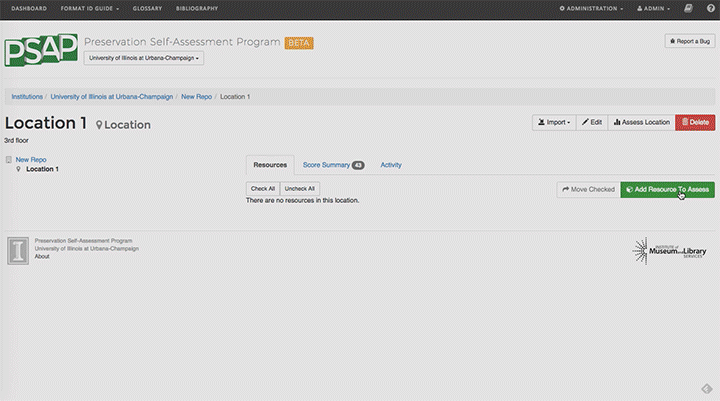
4. Assess the location you just created
- Select your location.
- Select Assess Location.
- Complete the form.
(Plus, you won't have to do it later).
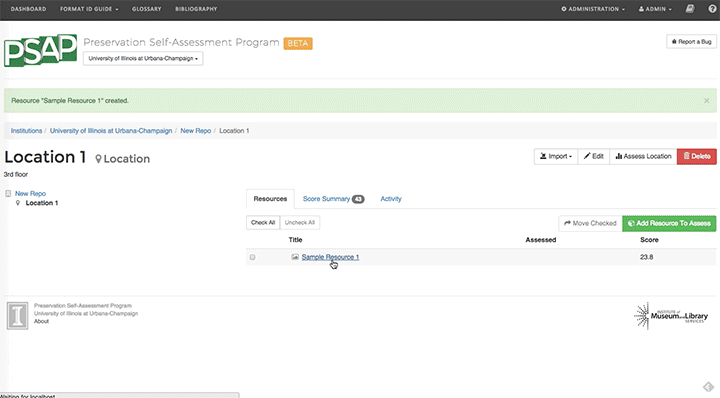
5. Add your first resource
- Select your location.
- Select Add Resource to Assess.
- Complete the form.
- Optional information is… optional.
(Pro tip: Use the clone button to duplicate similar resources.)
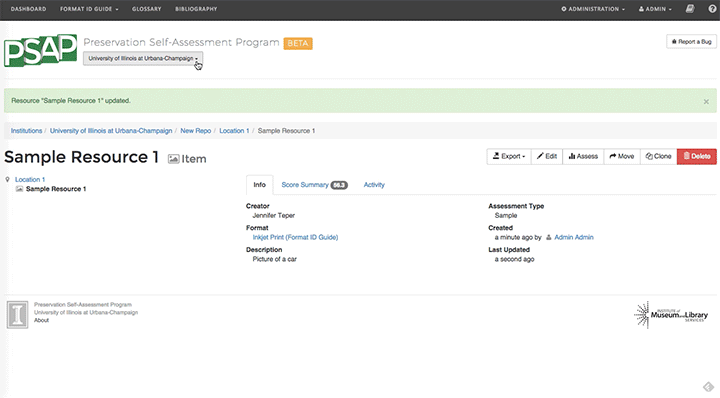
6. Assess the resource you just created
- Select your resource.
- Select Assess.
- Complete the form.
7. Generate an institutional report
- Navigate to your Dashboard.
- Select the Assessment Report menu item.
- Select Assessment Report.
Looking for an answer that you didn't find? Visit our help landing page.